.png?width=300&height=100&name=emma%20logo%20santa%20hat%20(4).png)
Please note that the guide here is just an example - you need to make sure that you will fill in all the correct customs information. You can always find all relevant information on Toldstyrelsen website.
You can find information about the different declarations type here on this LINK
On the link above will be directed to Toldstyrelsen website where you can find more information about B1, B2, B3, B4
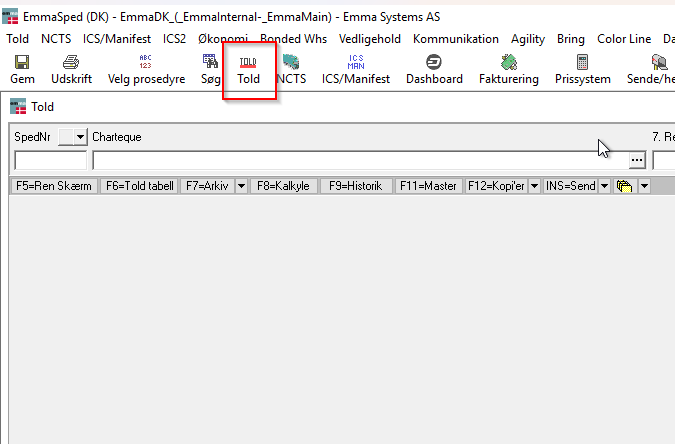
First go to "Told"
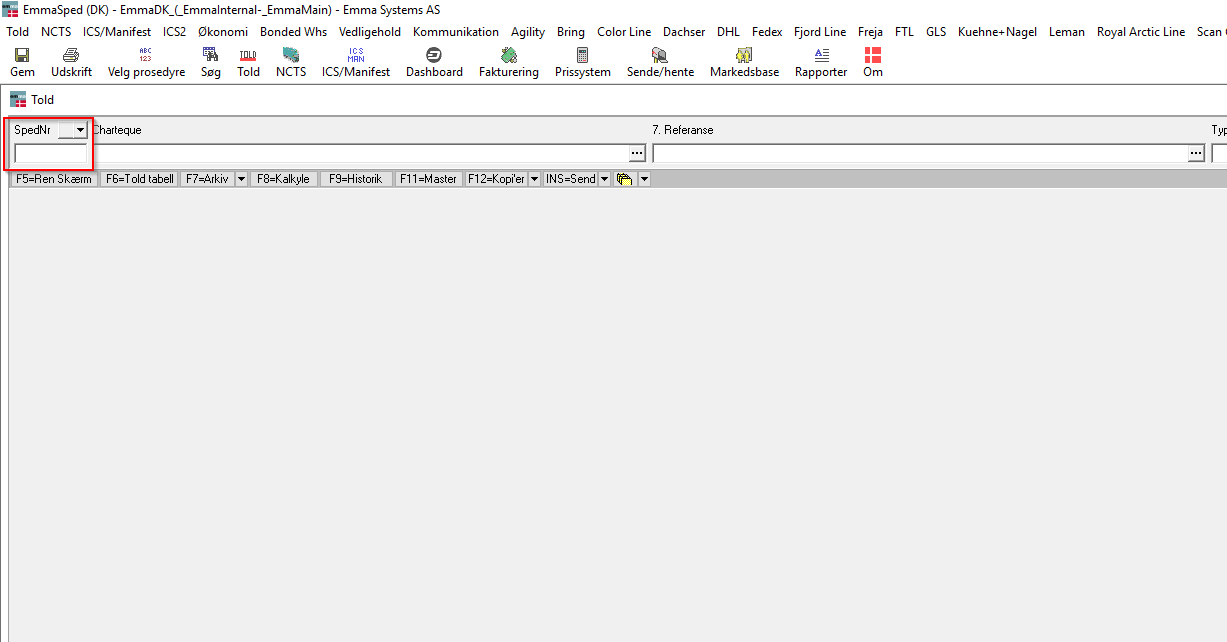
Spednr this is a consecutive serial number, this is only used in EmmaSped and not sent to Danish Customs, so you shouldn't add anything here.
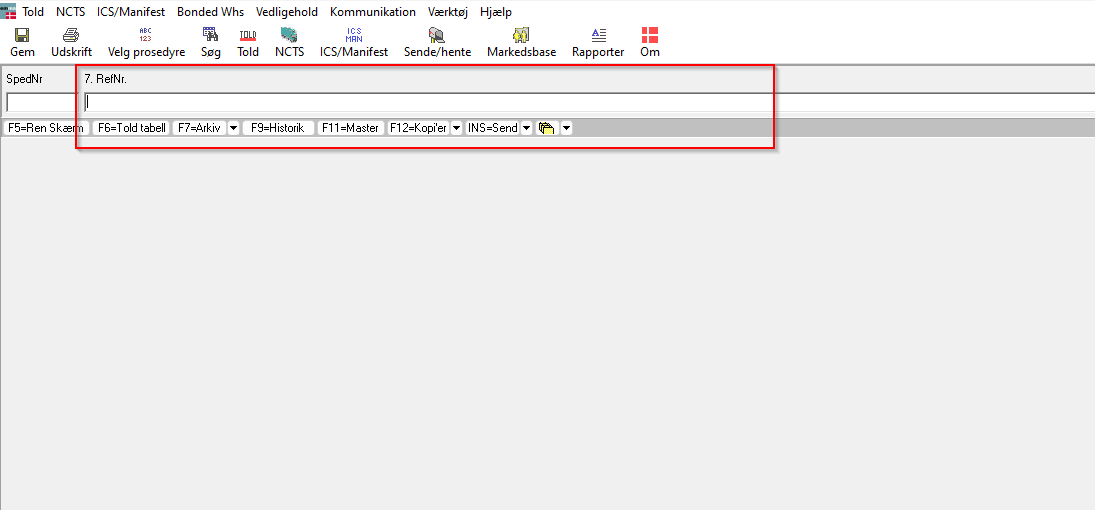
Add reference number here
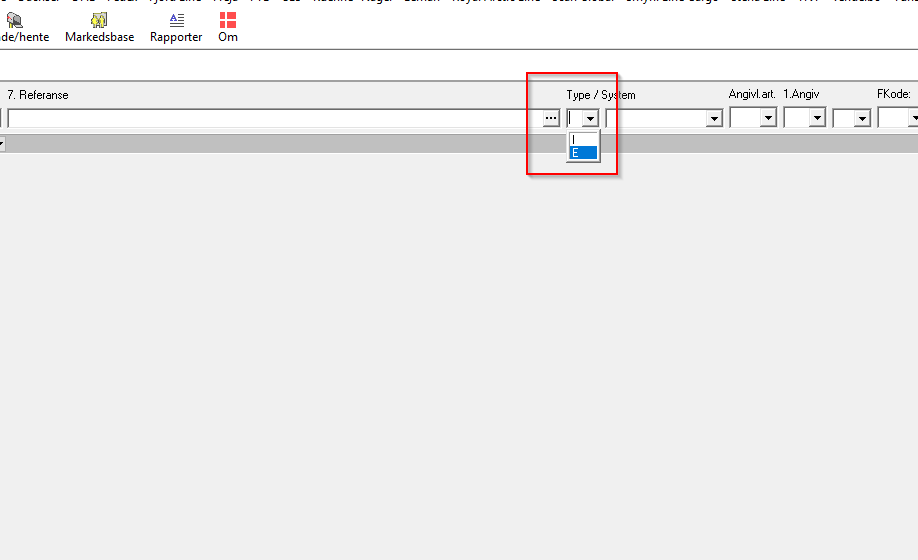
Select "E" for DMS Export
Select "B1"

In DMS Export there are only 2 option here as shown below - EX = the old EU & EX

Here below you need to select a relevant code - in the example we have selected "A"

Then please add needed data in these fields - 1301 and 1305 must be the same. If you have questions about this, then please contact Danish Customs Help Desk.

If you have same information in 1301 and 1305 then you should't fill out 1306, then it should be left blank
Add Relevant data here as well

In field 1615 you need to select the place where you want to present the goods for the customs. In the example here we have selected a Customs office to present the goods

Add information about Transport mode at the border

In 1903 you need to select what transport you are using. In this case we have selected 3 here

In this field below you need to fill in the identification on the Transport. If you have selected 3 above, then you need to select 30 in this field

Please note that if you select another transport mode here
Then you need to select another code here
You should also select national transport mode as well - you have the same options as you have in transport mode at the border

Here you have option to add if you have a Container on the DMS Export
if you have a Container you need to select "1" and then you need to add the Container number in "1907 Transportudstyr"

When you have filled out 1 in 1901 - then please add information about the container here

Fill out these information

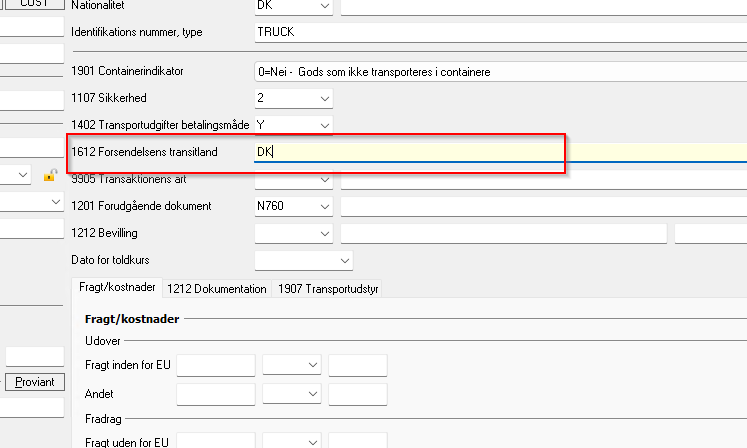
Also fill out field 1612
You have the option to add 1201 and or 1212 Bevilling on shipment level, then you don't need to fill it out on each goods item

You can also add 1212 on general shipment level

You have the option to add invoice information here, add invoice number, amount, currency and invoice date.

When you have added the relevant information you want to add on Shipment Level, then you can go to "Goods items" and add goods items lines.

Start by adding a relevant HS code and press enter - then fill out the needed information for the HS code you have selected.
Please make sure to use "enter" when you want to move to next field.

Y codes are added automatic on the HS code - You have also option to add information manual here

When you want to add more than one goodsitem line, then you can click on the "+" icon here

And then just add the info needed on the new goodsitem line
When you want to send the declaration to the customs, do as you have done all the time in EmmaSped press on "insert" on your keyboard.
Then you get this menu - and click on "insert" again.

Now you can follow the status in "toldtabel" F6 - In Toldtabel you can see all the declarations that you have sent into Danish Customs, and they are still not printed/removed.
Toldtabel is your own overview on the declarations that you are actually working on.
You can remove declaration from Toldtabel when you are printing the EAD document or if you mark a declaration and press delete on your keyboard.
You will always be able to find all your declarations in Arkiv F7

In Toldtabel you can follow the declaration.
In this field you can follow the status

See this link to check what the different status means